
Blog
Learn how to seamlessly transfer appointments to a new booking system. Follow crucial steps for a successful migration and keep clients informed.
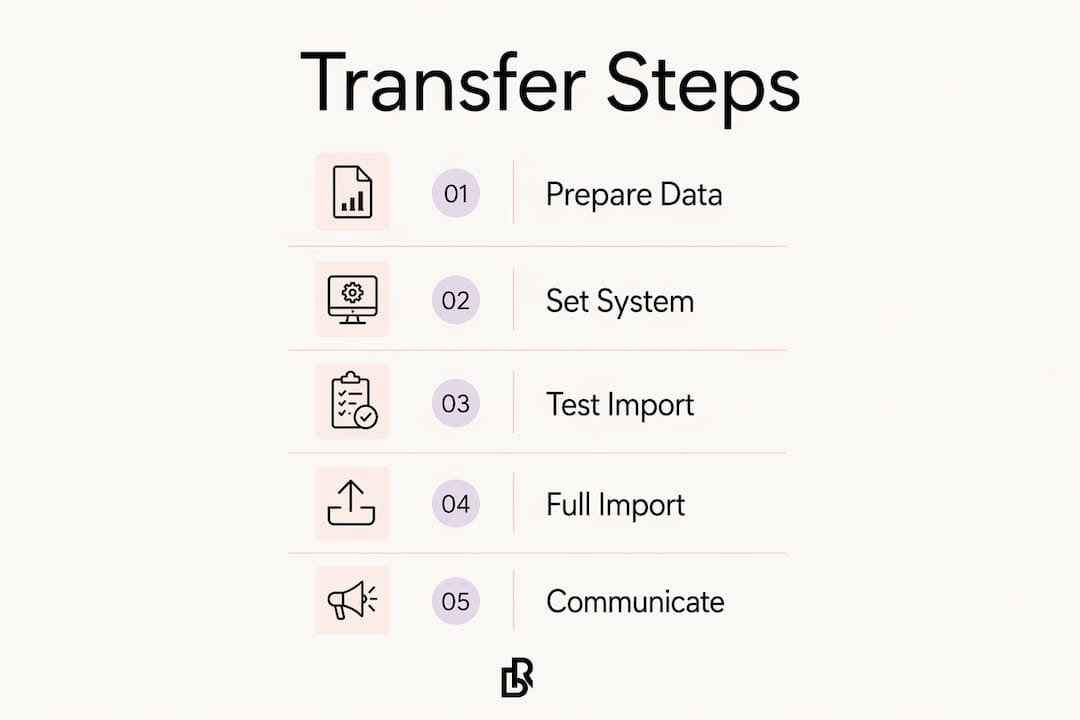
Switching booking platforms is less about technology and more about preparation. The core steps are: back up your current data, verify that your new system can receive it, export client and appointment records, import them cleanly, test everything before going live, and tell your clients what changed. Get those six things right and the migration stays under control.
Here is what a clean transfer covers:
Platforms like Square Appointments and Google Appointment Schedules both support export and import workflows, so you are not starting from scratch on either side.
The biggest mistake owners make is importing data into a half-configured system. If your services, staff profiles, and business hours are not set up first, the imported appointments will land in the wrong places or fail to map at all.
Step-by-step setup checklist:
Permissions matter more than most owners expect. During a migration, multiple people may be logging in to check data or fix errors. Locking down access by role prevents accidental edits to records that are mid-transfer. Most platforms let you set admin, manager, and staff tiers separately.
Pro Tip: Before importing anything, book a fake appointment manually in the new system. If the confirmation email fires correctly and the calendar updates, your notification settings are working. If not, fix them now rather than after a thousand real appointments are in the system.

Verify that your new platform has CSV import functionality built in. Many modern booking tools handle this natively, meaning you do not need a developer to move your data.
Clean data in, clean data out. The quality of your migration depends almost entirely on what you do before you hit “export.”
Standardize your records first: consistent client name formatting, matching service names, and uniform staff labels. If your old system has “Gel Manicure,” “gel mani,” and “Gel Mani” as three separate entries, your new system will treat them as three different services. Clean that up in a spreadsheet before you export.
Export checklist:
clients_export_2026-07-20.csv).During import:
Pro Tip: Run a small test import first. Export a modest number of records, import them, and check every field. Catching a mapping error on a small sample is far easier than untangling it across the full dataset.
For beauty studios specifically, standardizing employee schedules and service listings before import reduces mapping errors and protects the integrity of your appointment data.
Running two systems at once sounds chaotic, but a phased parallel approach is actually the safest way to migrate. It gives your team time to learn the new platform while the old one stays as a reference, and it catches conflicts before they reach clients.
Transition checklist:
Plan for a 24-48 hour window where booking is paused entirely. This blackout period lets you finalize the data transfer and confirm everything is correct before clients start booking into the new system. It feels uncomfortable, but it is far better than discovering a double-booking conflict on a busy Saturday morning.
The double-booking trap is real and specific: a client books through the old link (which you forgot to deactivate) at the same time another client books the same slot through the new system. Disabling the old booking button first, before you import, is the single most effective way to prevent it.
Clear client communication cuts missed appointments during the switch. A short email or text explaining the new booking link, sent two to three days before the changeover, handles most of the confusion before it starts.
Most booking platforms are built for everyone, which means they are optimized for no one in particular. Bkrdy takes a different approach: the platform is designed specifically for independent beauty studios, lash artists, nail technicians, and hairstylists, and that specificity shows up in every feature.
When you are moving client data to a new system, the last thing you want is a generic dashboard that treats a lash fill the same as a dentist appointment. Bkrdy’s client history management keeps each client’s service record, preferences, and notes in one place, so rebooking continuity survives the platform switch.
What Bkrdy brings to the transition:
For studios that have been sending clients to a plain booking link that looks like a therapist’s intake form, the switch to Bkrdy is also a brand upgrade. The new client booking flow is designed to convert browsers into booked appointments, not just hold calendar slots.
If you run a spa or esthetics practice, Bkrdy’s spa booking platform is built around the same principles: a beautiful front end, deposit protection, and client history that stays with you through any system change.
Transferring appointments to a new booking system goes smoothly when you standardize data before export, run systems in parallel during the switch, and communicate changes to clients before the old link goes dark.
| Point | Details |
|---|---|
| Back up before anything else | Export a full copy of all client and appointment records before starting any migration steps. |
| Standardize data before export | Clean up service names, staff labels, and client formats so CSV imports map correctly in the new system. |
| Use date filters on exports | Pull only active and upcoming appointments to avoid importing outdated records that clutter the new system. |
| Plan a 24-48 hour booking pause | Disable booking buttons during final data transfer to prevent cross-system conflicts and double bookings. |
| Communicate early and directly | Send clients the new booking link two to three days before the changeover to reduce confusion and missed appointments. |
BKRDY
Pick a template, take deposits, and let clients book on your own branded site. 30-day free trial.
Start your 30-day trial